
Some unusual landscape moments ……………
I've spent years designing & building some fabulous projects all over the place, thanks to the staff I was fortunate...
I've spent years designing & building some fabulous projects all over the place, thanks to the staff I was fortunate...
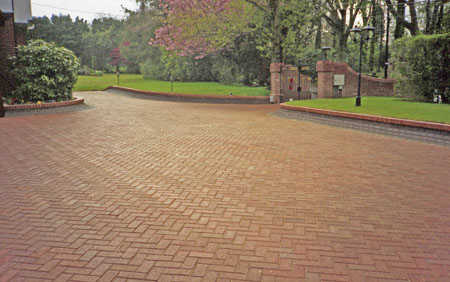
We developed 'Designer Drives' almost 30 years ago.. How it started.. We had worked for a London Parks Department, on...
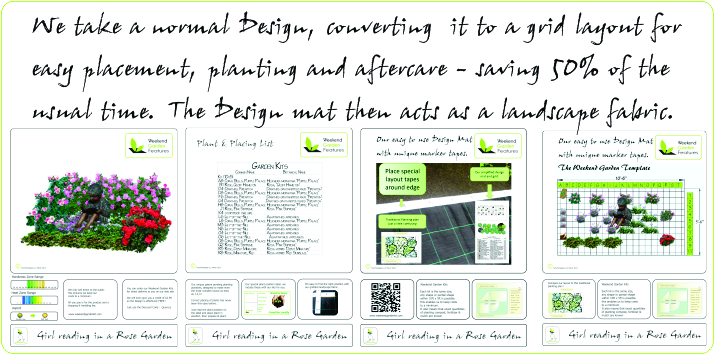
Weekend 'Bite -sized' landscapes This seating area would take the average couple between 4 - 6 hours to complete using...
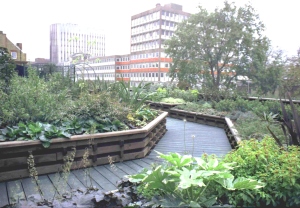
This green roof garden was constructed in London some years ago..just as 'Green Roofs' were becoming popular, we used this...
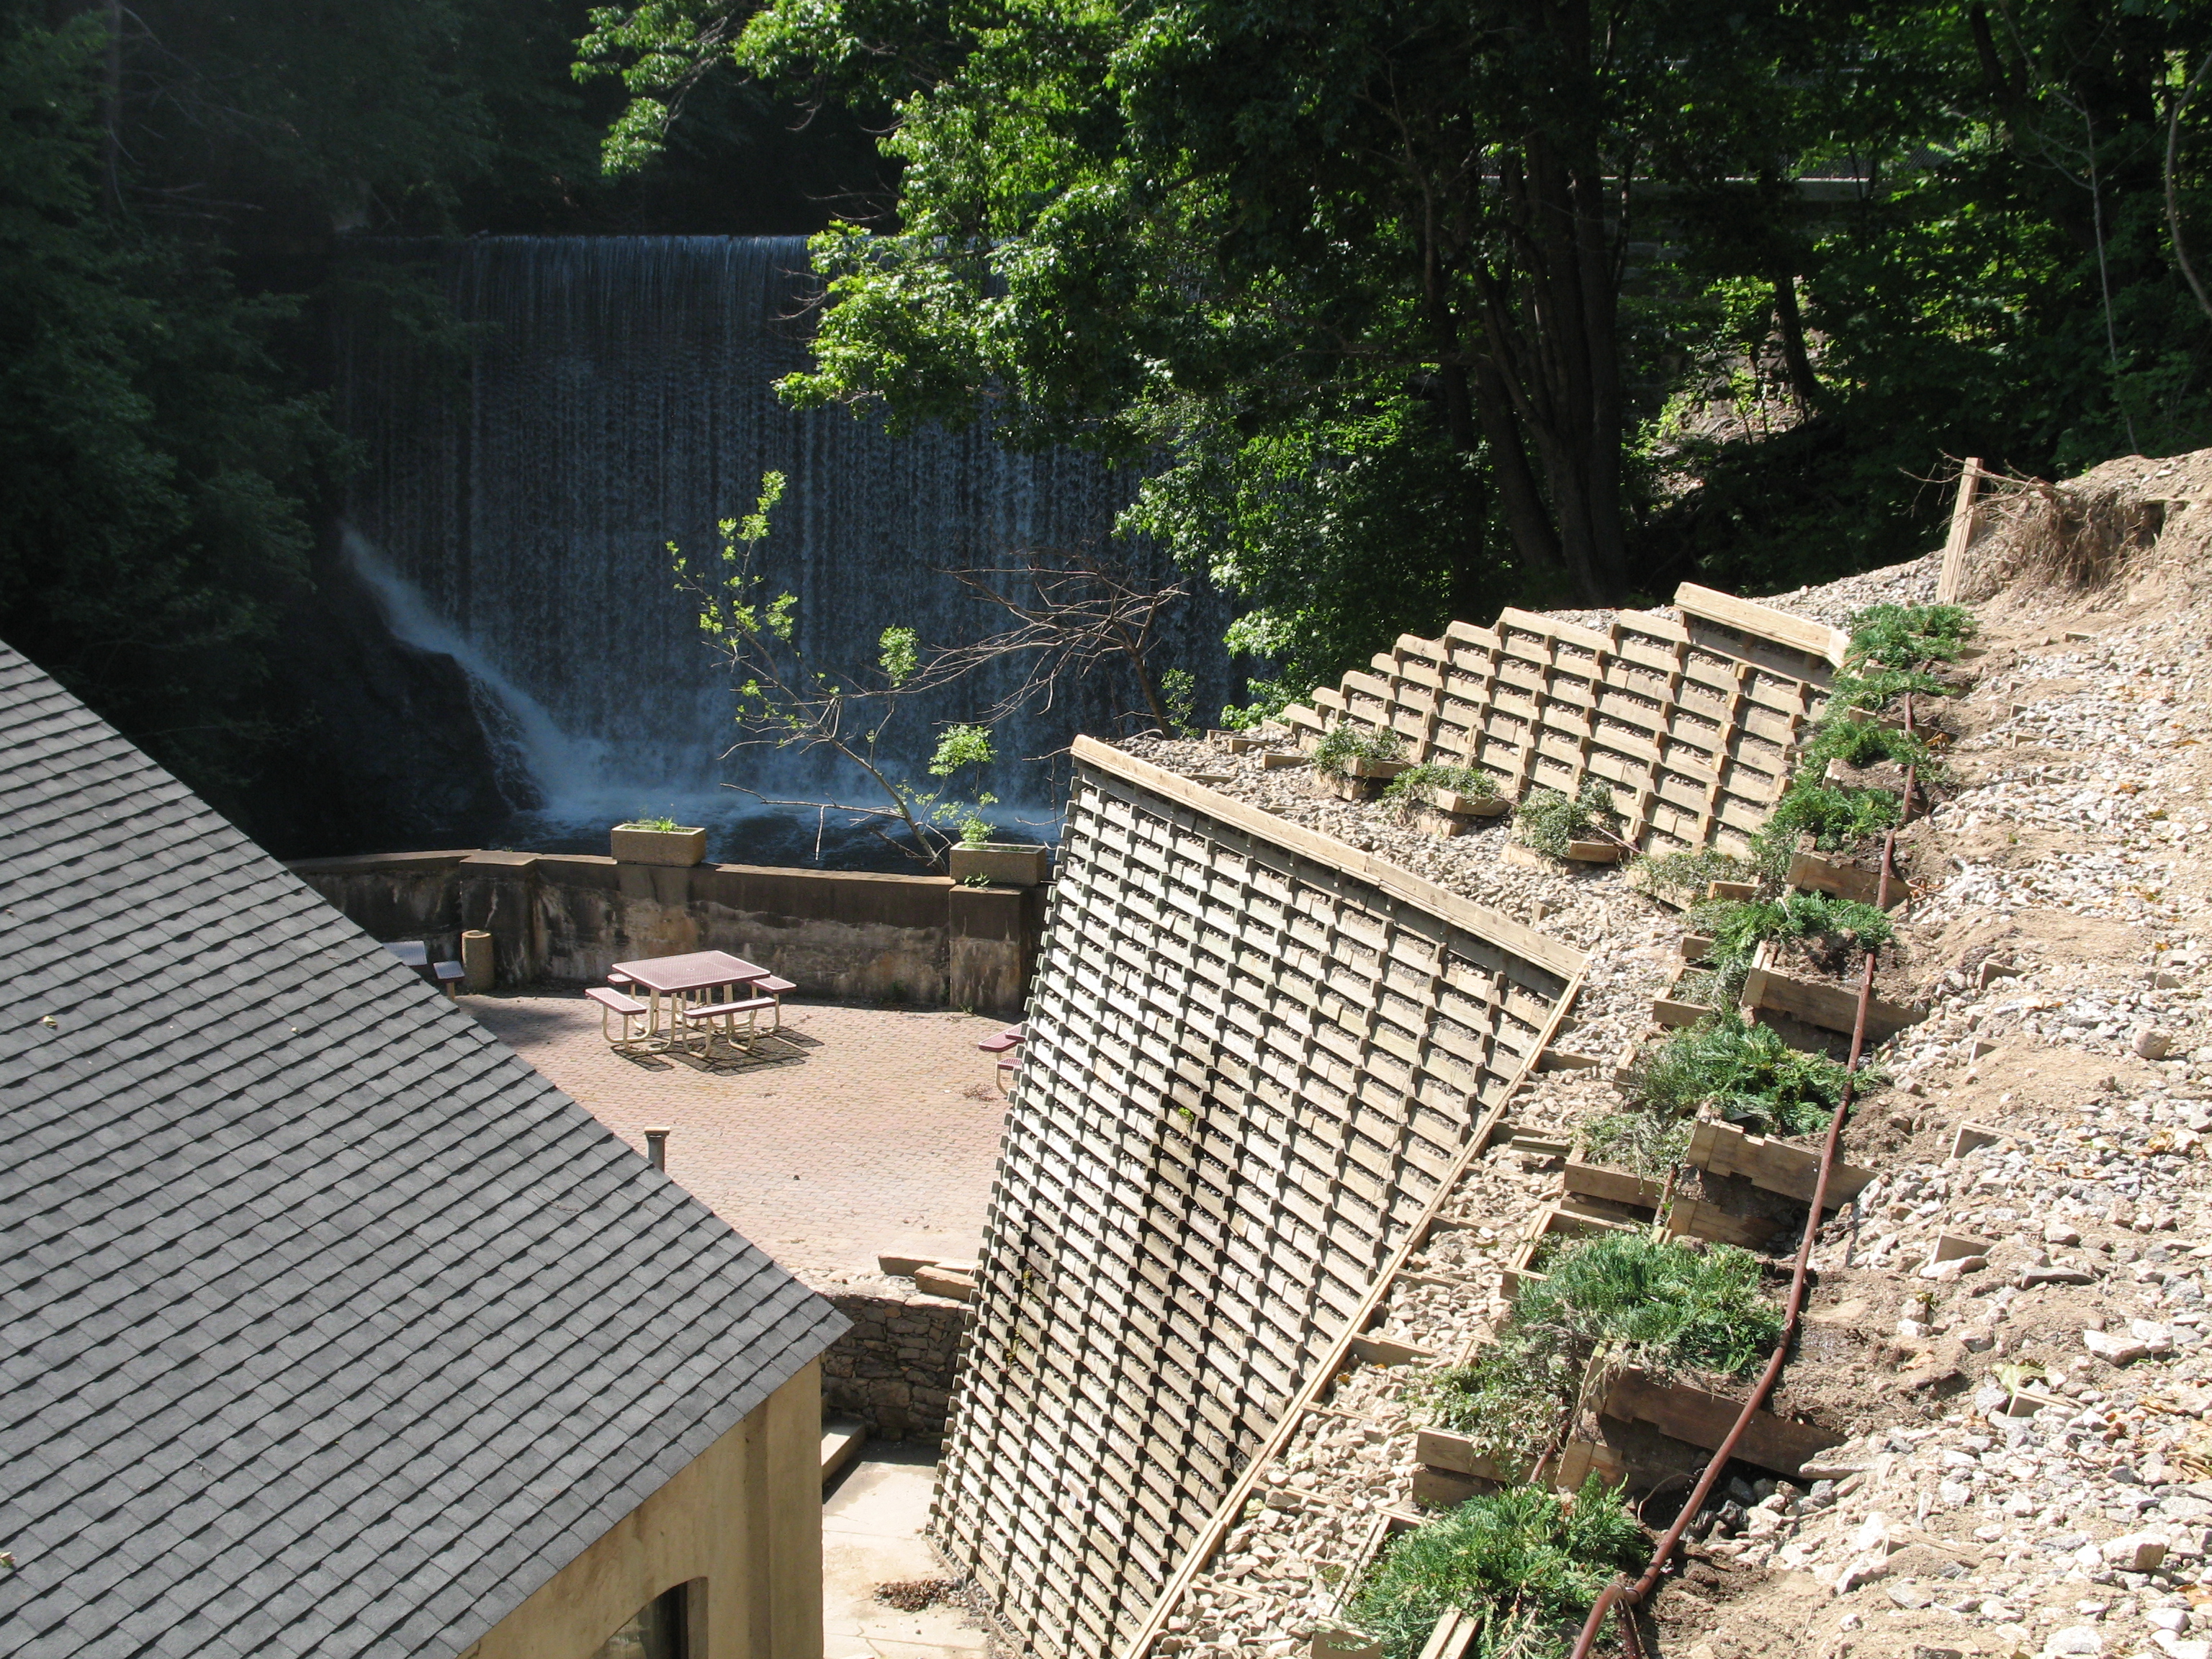
Fully retaining gravity walls can be made from specially treated wood..this one is 25ft high! Treated Timber Gravity Wall These...

We worked with this client for a number of years, developing his garden into this beautiful, peaceful retreat from everyday...
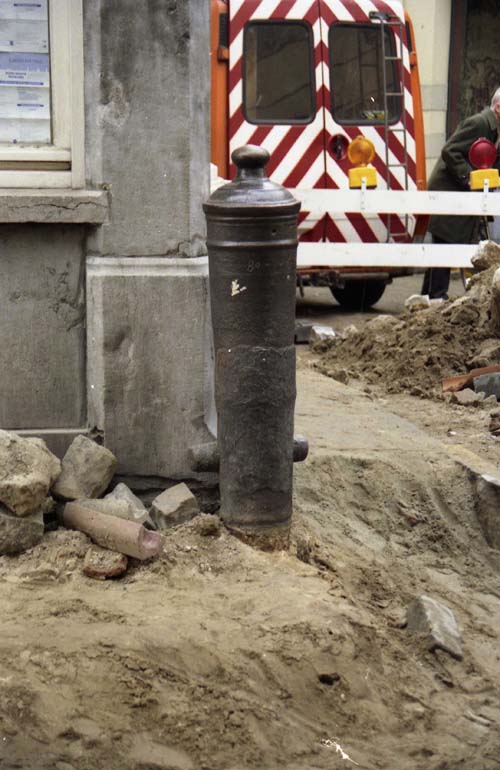
I've always kept a camera handy, these days it's much easier with smartphones etc., A few years ago whilst snooping...

A somewhat larger residence, with a lovely brick gulley detail. Our first green wall way back in 1984, this superb...
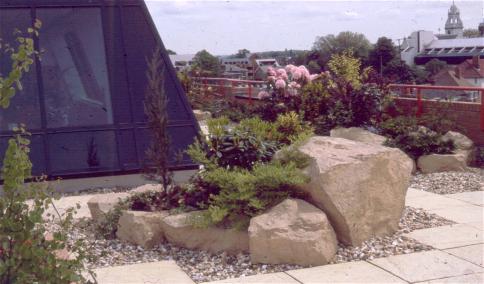
Some years ago we started designing and building roof gardens, in those days specialised materials were not too plentiful, so...


