
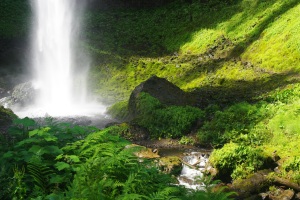
Heaven is a Garden
A few years ago I read a paper about how grasses 'moved' to music, then I read about the effects...
A few years ago I read a paper about how grasses 'moved' to music, then I read about the effects...
How things have changed..... Express diaries Back in the 1950's,60's,70's& 80's in England we had daily fresh milk deliveries direct...

Ann and I were sitting down planning a new season of information shows, that we are calling 'Gardenesque' on our...

Looking back over a good few years, it seems to me that only a few things have changed. Mostly the...

I've been really surprised at all the positive comments the site has been generating from everyone - Thank you all...
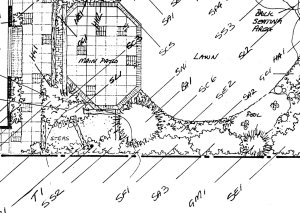
It's been 40 years since I first grappled with a traditional planting plan. All those lovely latin names - like...
Today you can chuckle at my expense !!! Enjoy your weekend ! Designing & Building award winning landscapes has been...

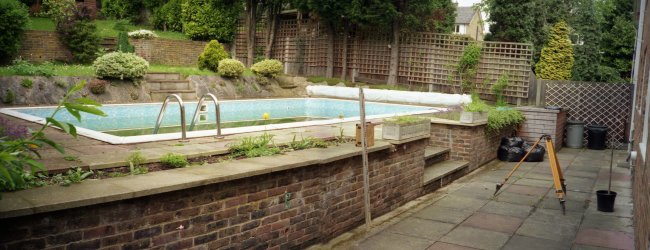
Beautiful landscapes take time, professionalism & commitment, from the owner, the designer, the builder and the maintainer. Unlike almost any...

Last time we talked about paths, so today I thought it might be advantageous to discuss 'Timber Walls & Fences',...
Ok so this is most important for the final outcome of your project. Here you will need to come up...


